News
AFTER WORK WITH “THE HATCH”
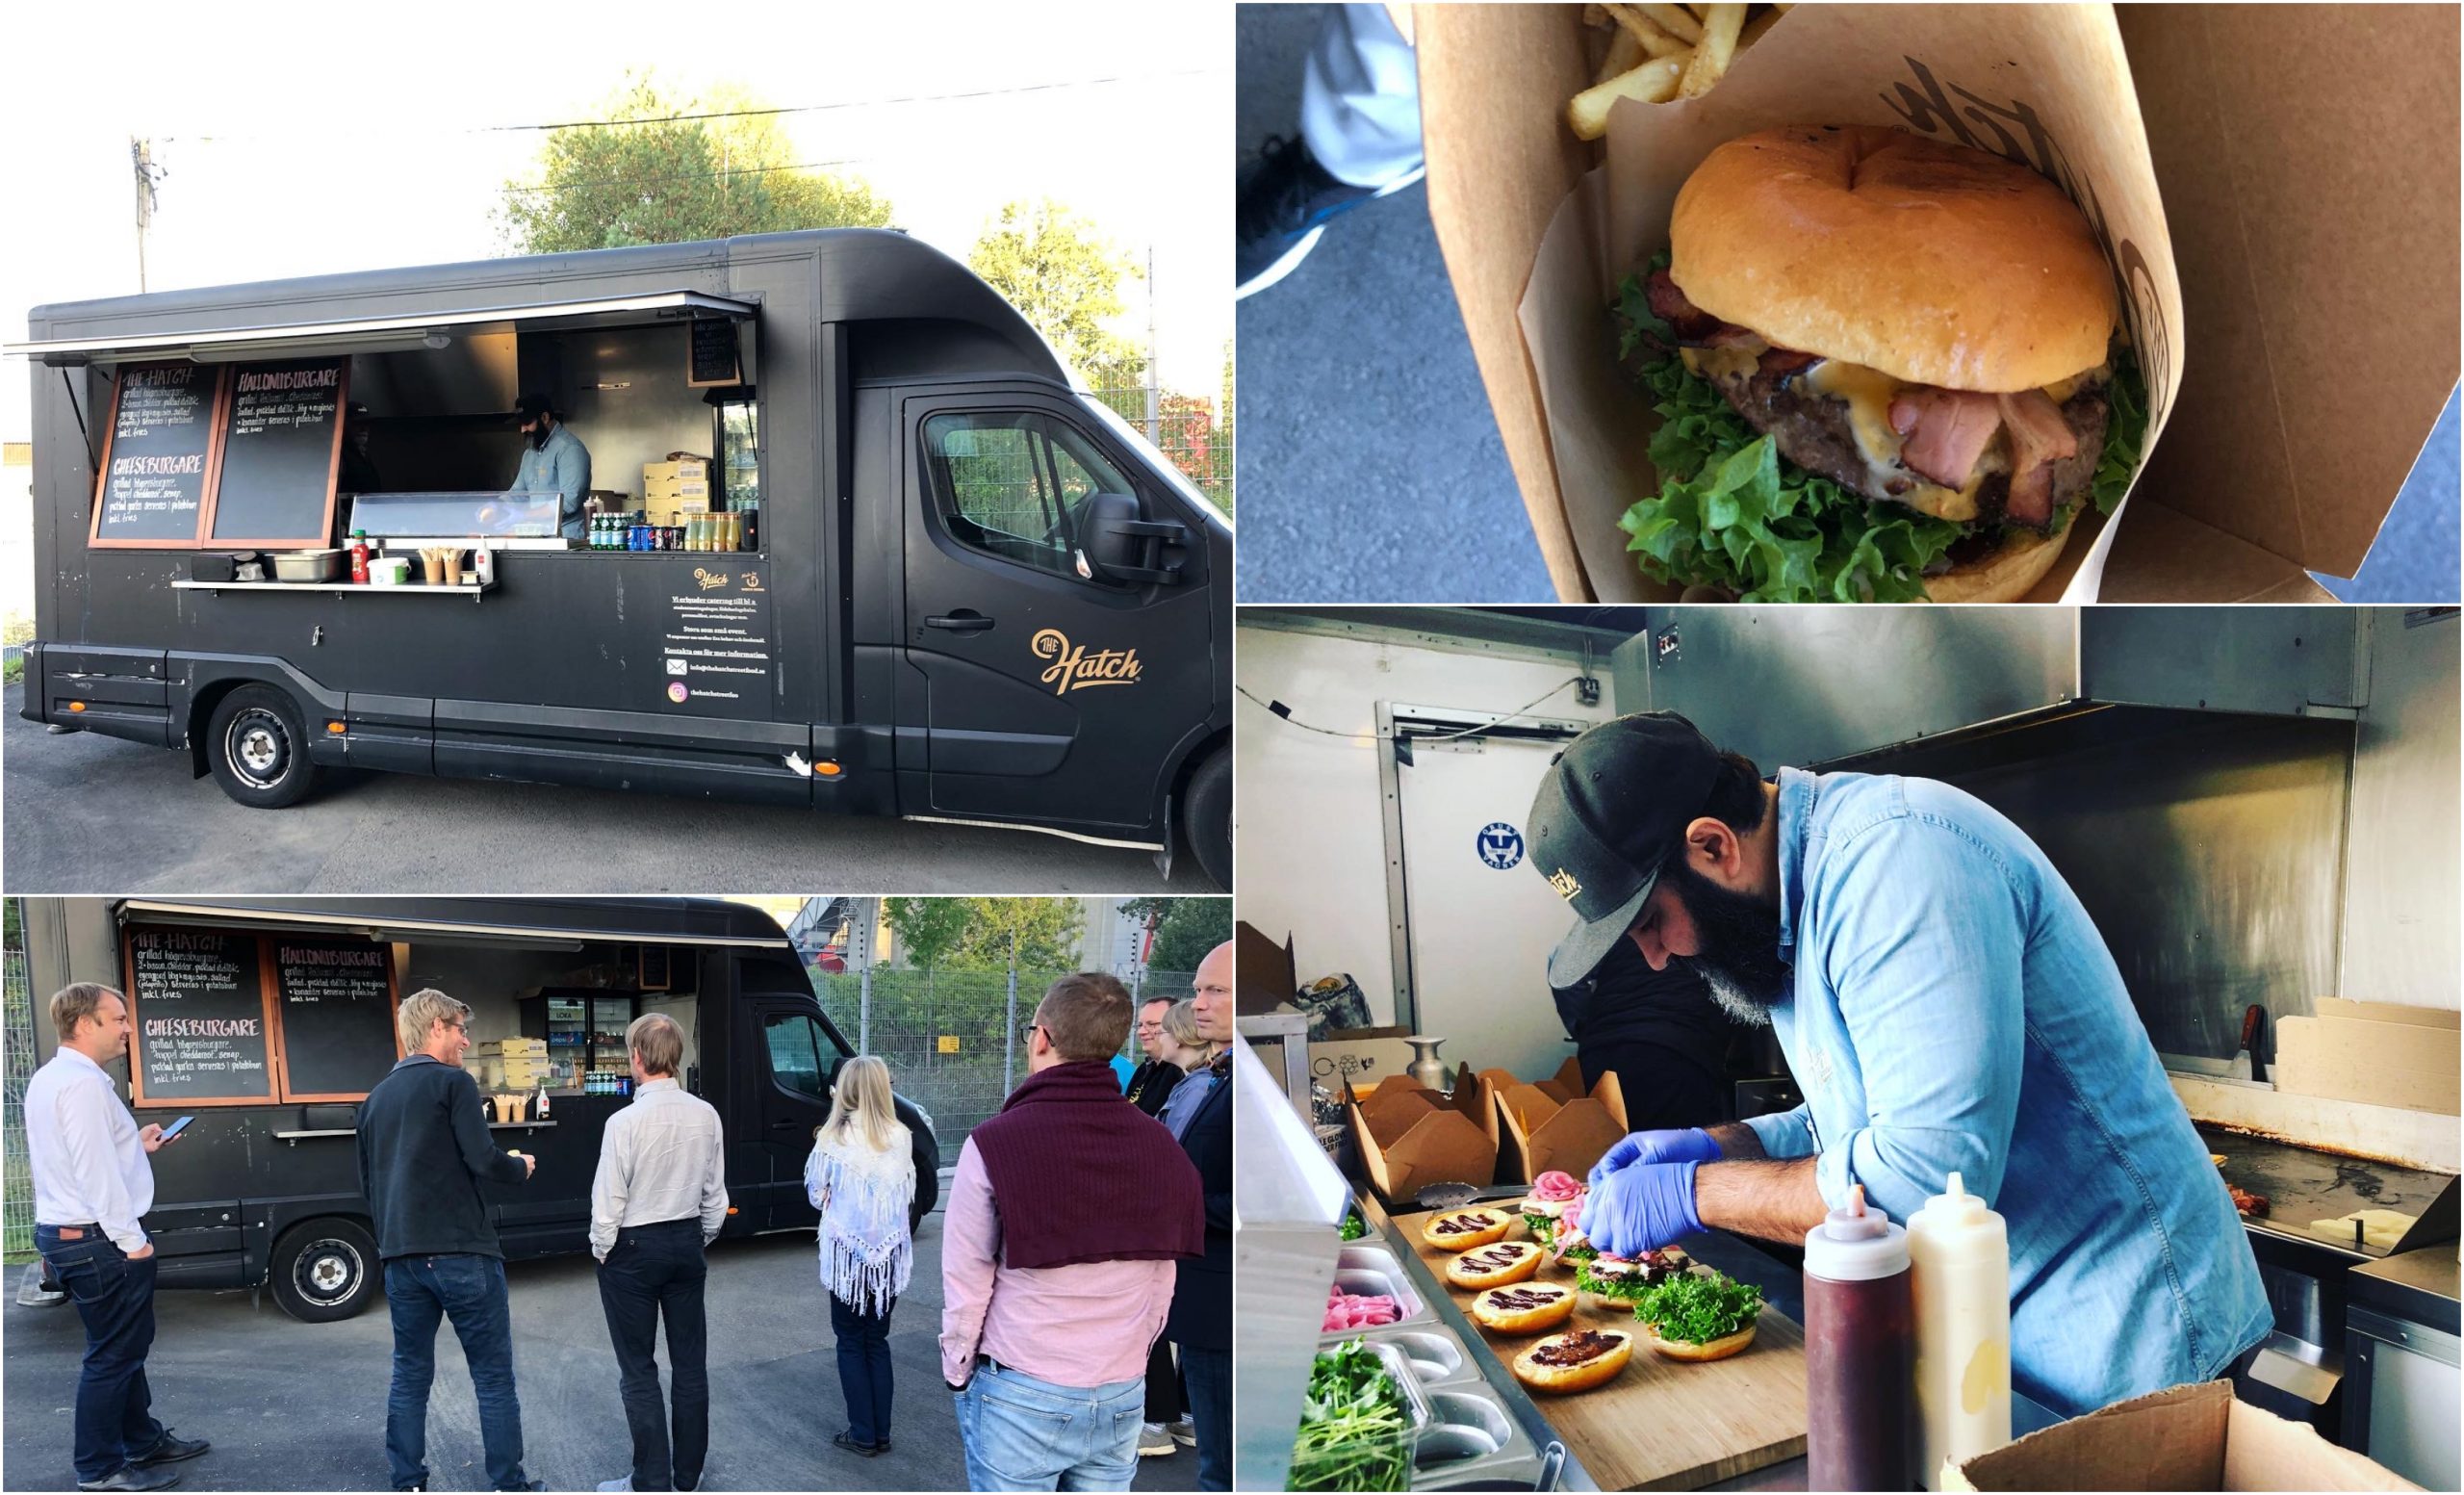
Kvaser´s after works often means good food and drinks! Last summer we rented a food truck from famous “The Hatch” that made us the Read More
Read More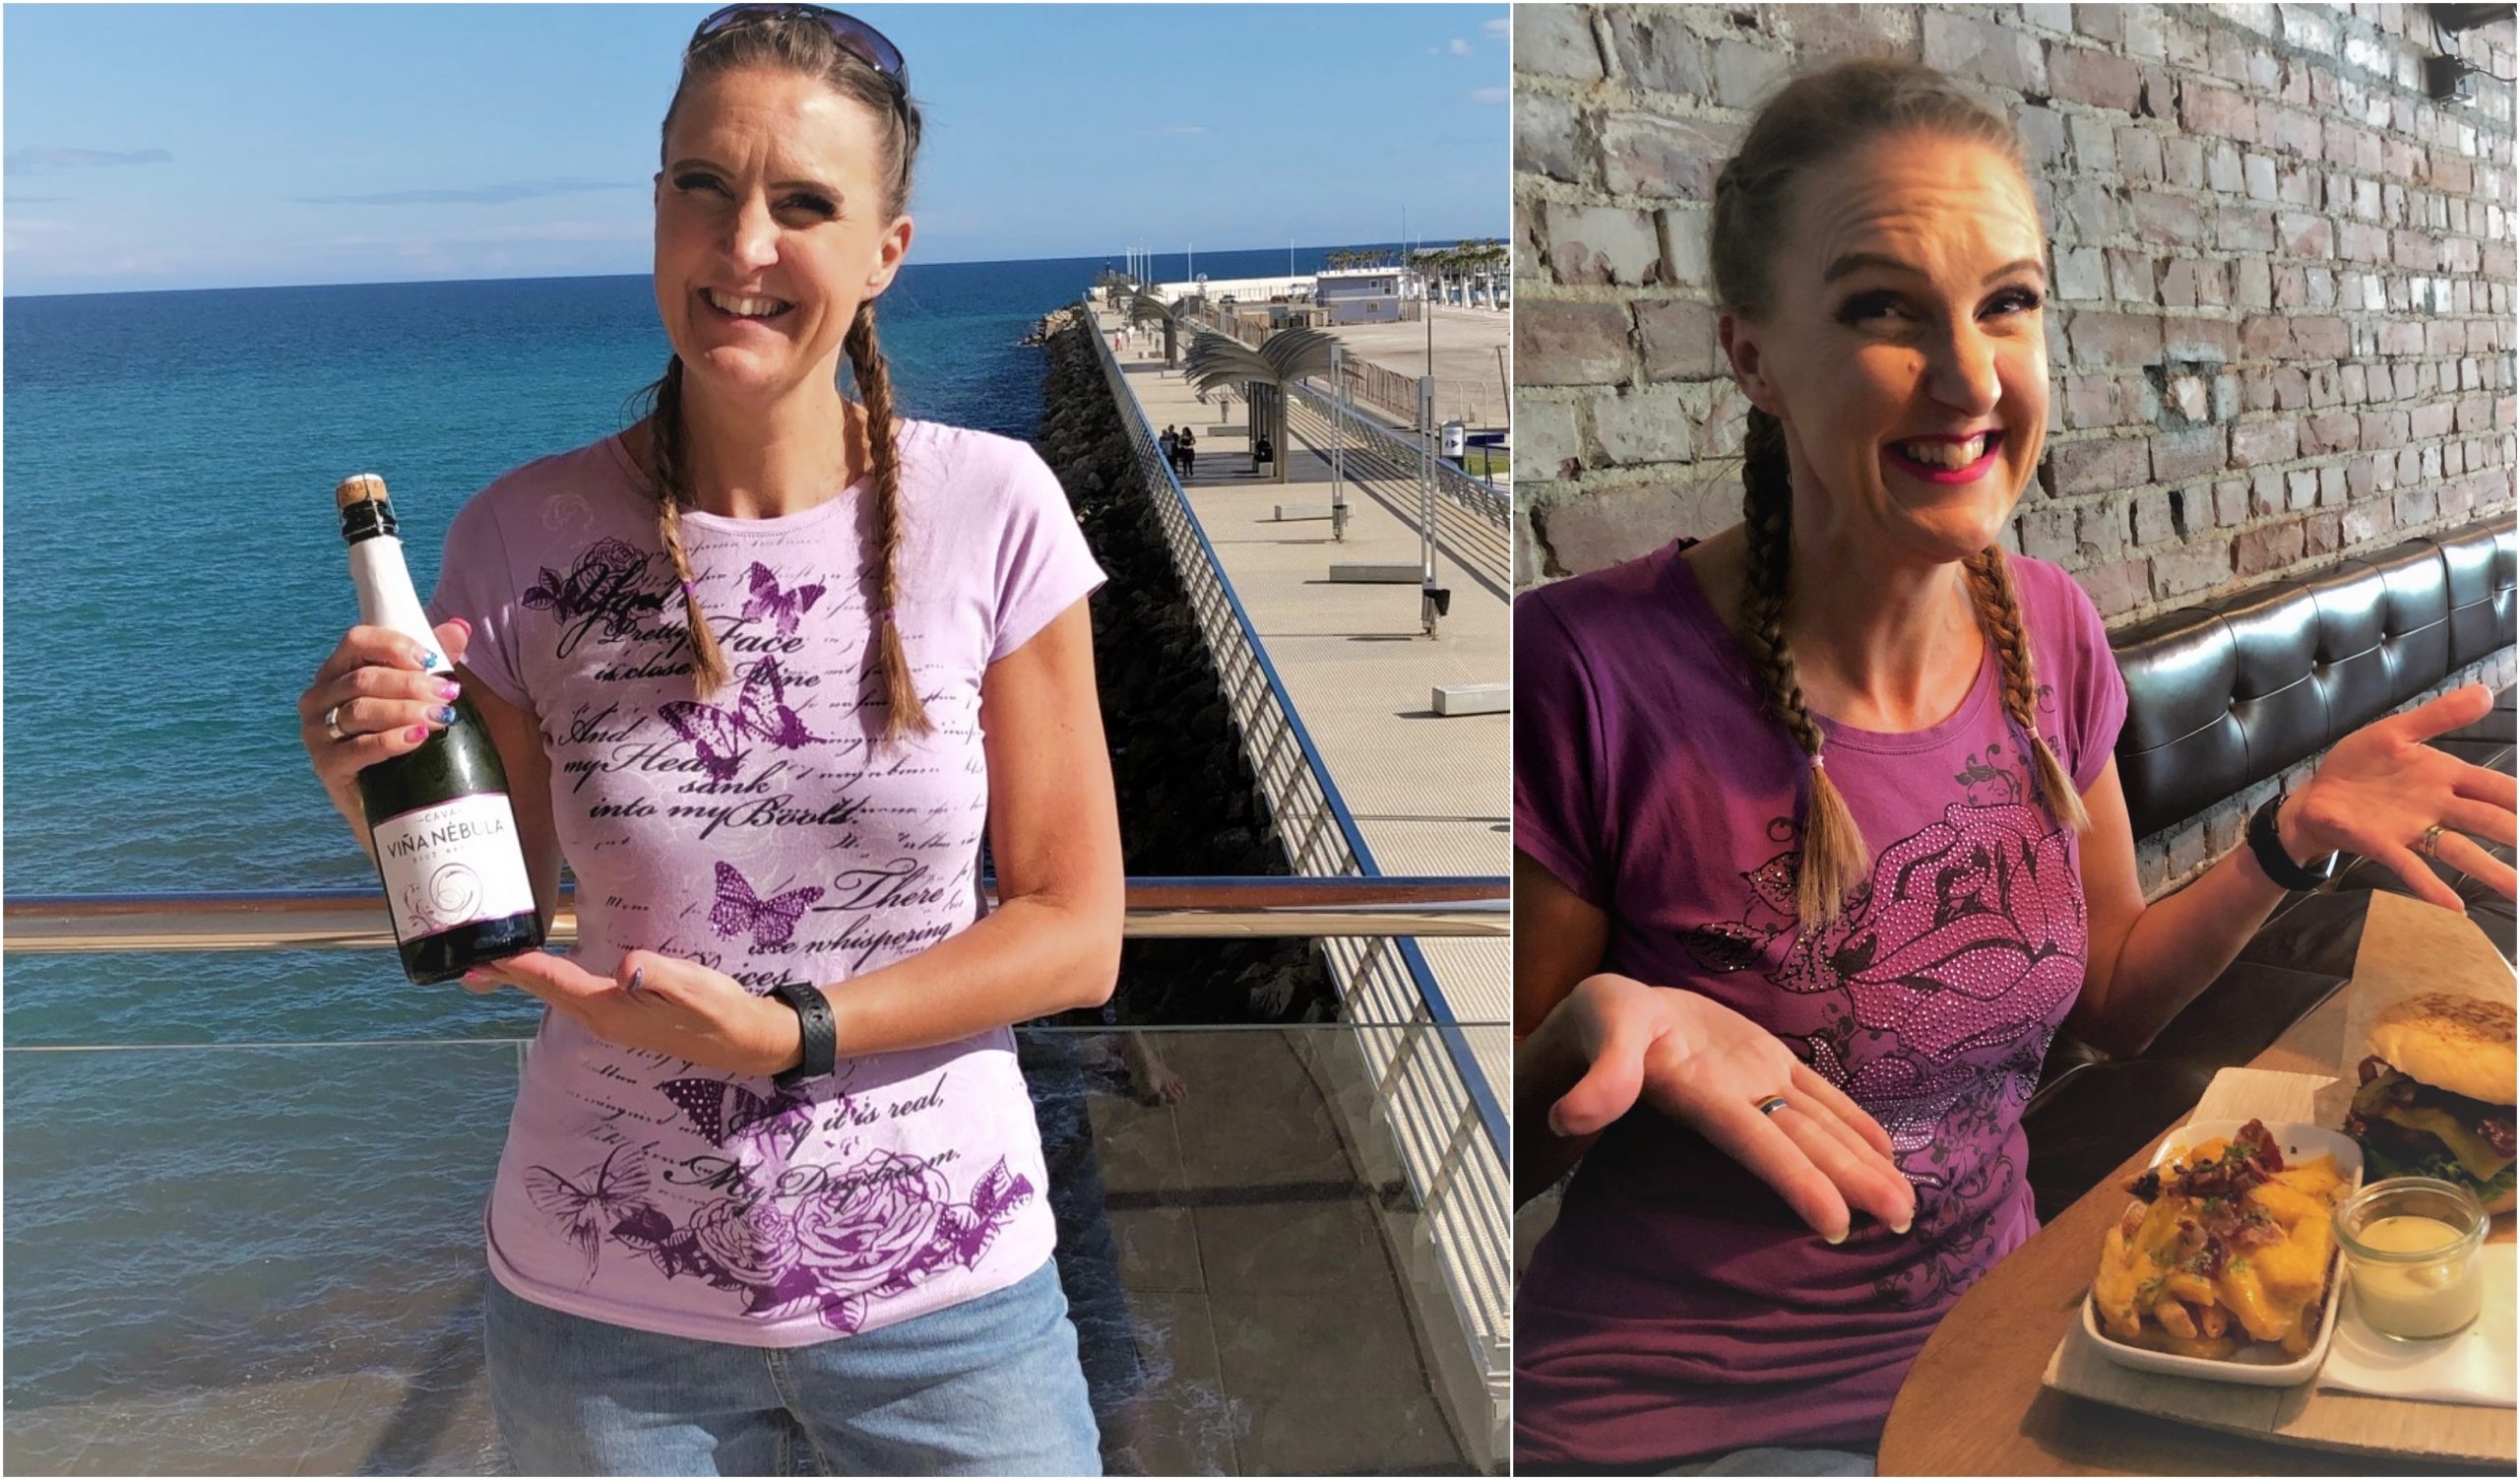
KVASER INTERVIEW – ELIN REHNBERG
Every two weeks there will be an interview with one of our employees where you can get to know them for real! First up is our very own sparkling Elin Read More
Read More
SAE J1939 Fundamentals Webinar
Understanding how J1939 works can be complicated. Whether you’re an engineer doing ‘test and measurement’ on a truck, or a… Read More
Read More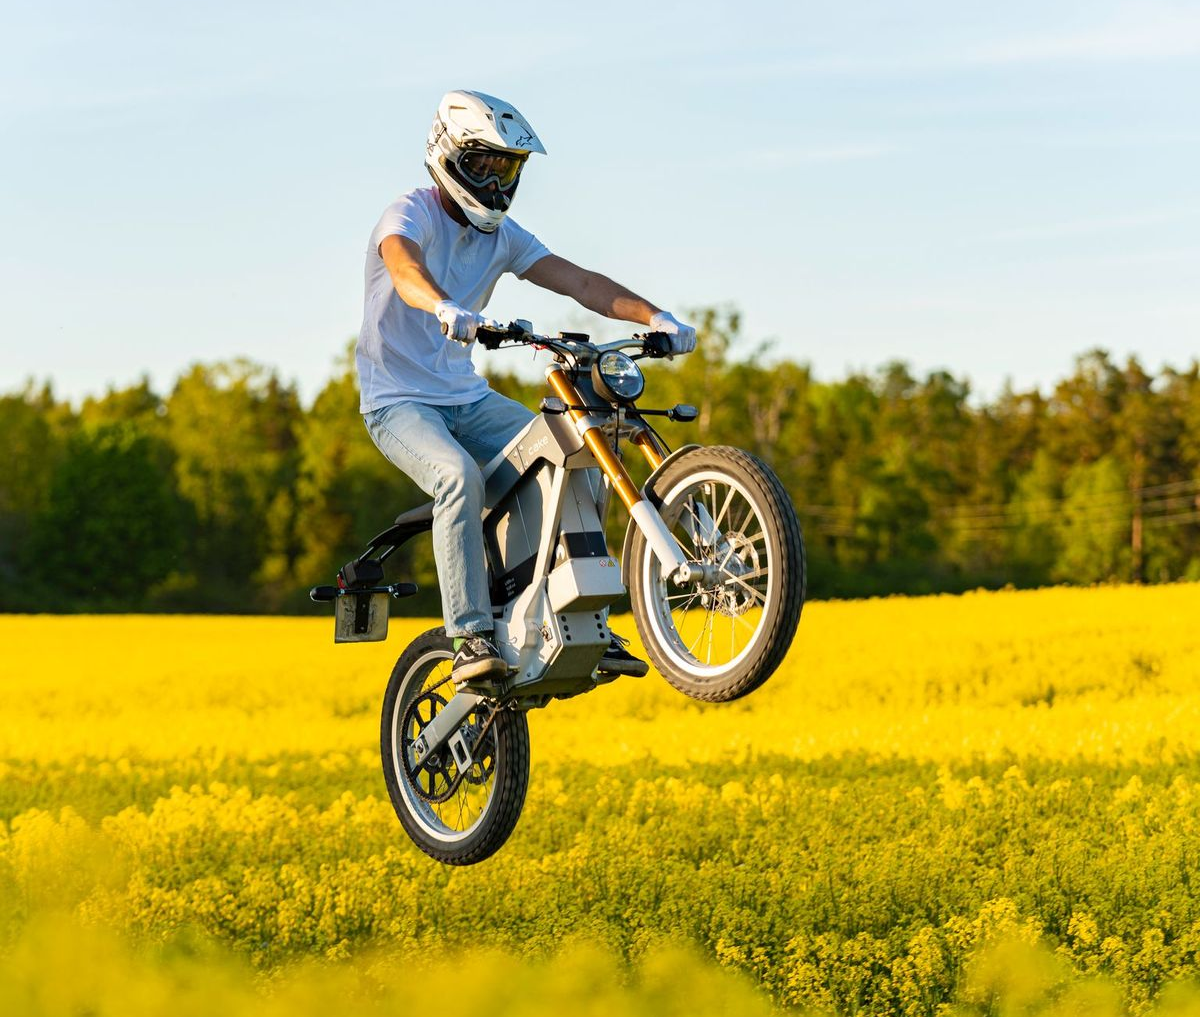
CAKE: a dirt bike with a difference
CAKE’s electric off-road motorbikes rely on Kvaser CAN to USB interfaces for after-sales VCI. Read More
Read MoreWebinar: Ethernet-Based Product Walkthrough with ATI
Accurate Technologies (ATI) and Kvaser are holding a joint webinar on December 14th and 15th (Central EU Time). The 60-minute… Read More
Read More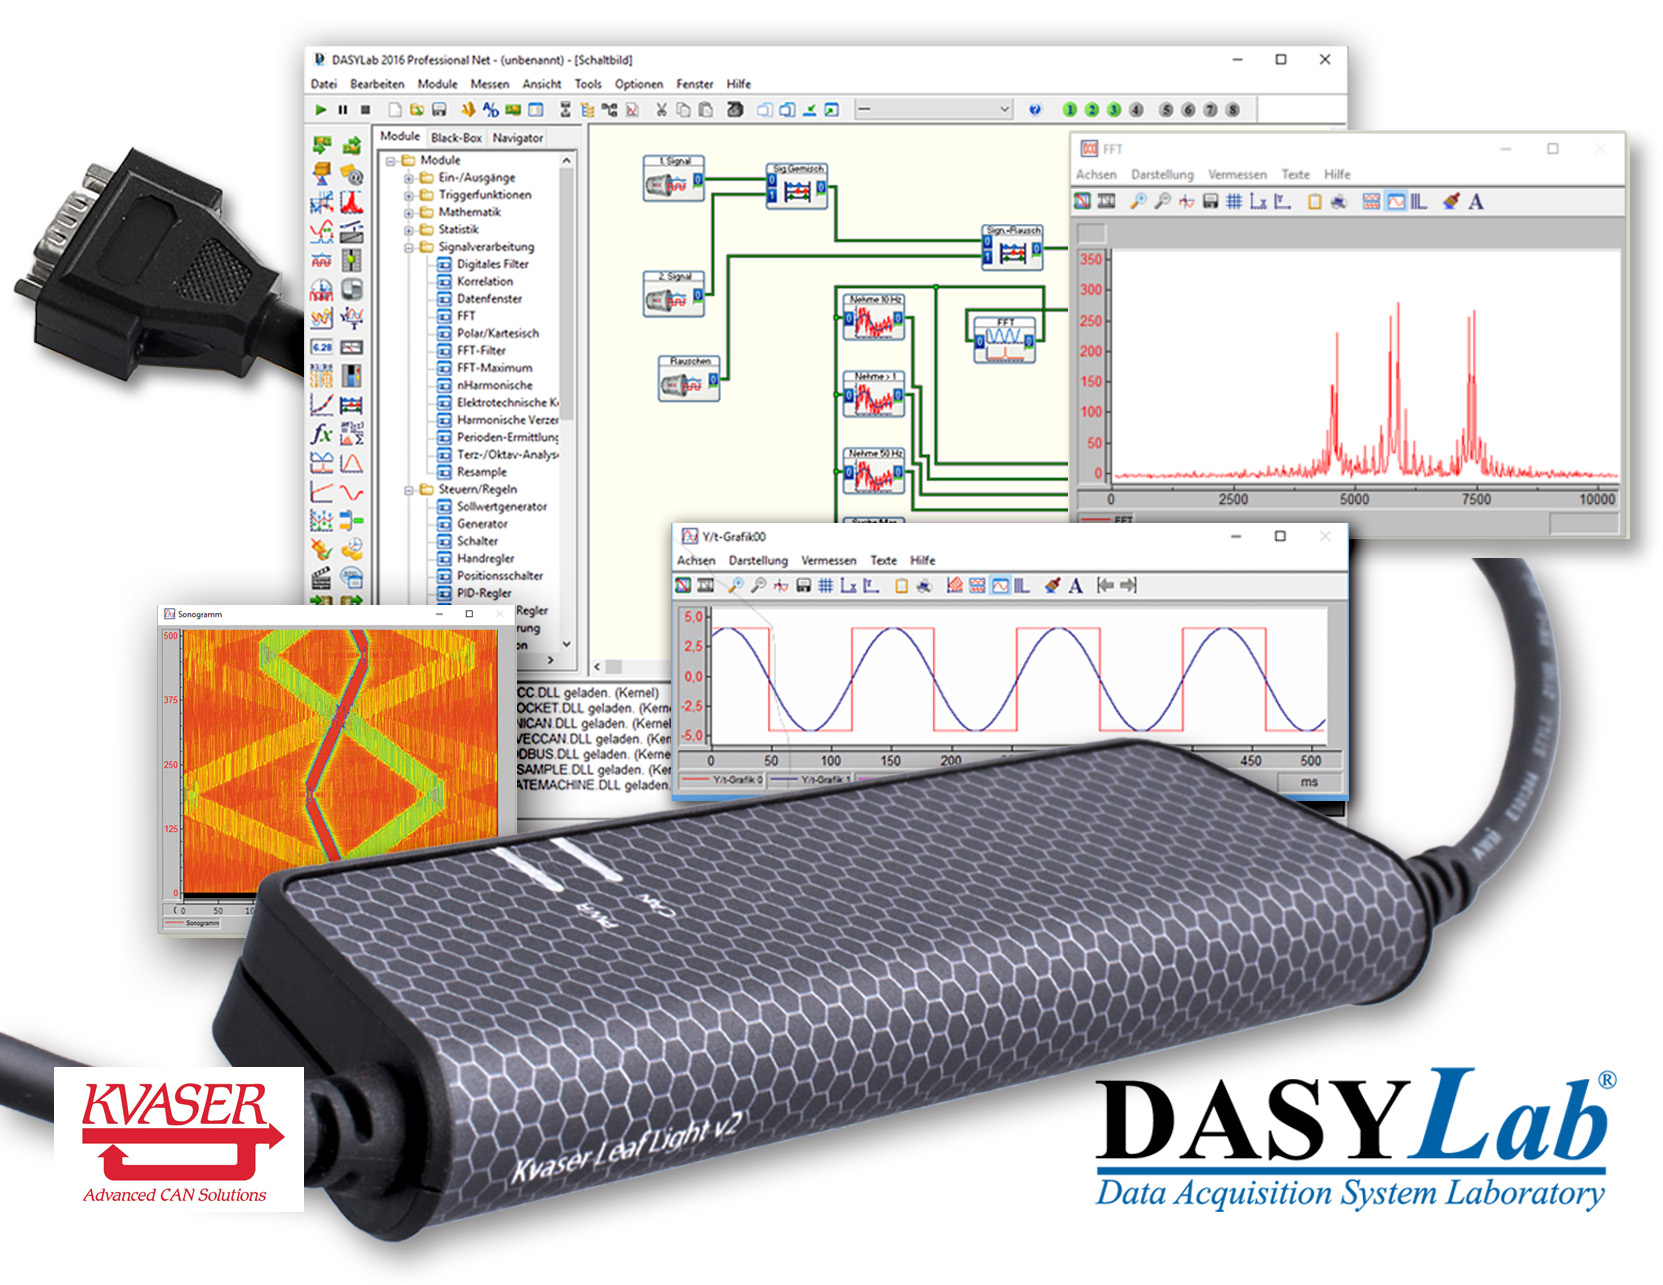
Kvaser adds measX as technical associate; DASYLab® supports Kvaser
Kvaser is pleased to welcome new technical associate, measX GmbH & Co. KG. measX develops data acquisition and test technology,… Read More
Read More
Conference at beautiful Särohus
On October 27, the Swedish finance and logistics department went to a conference at beautiful Särohus. They say “work hard play hard” so a Read More
Read MoreDependable Diagnostics for the Endurance Specialists
RA Consulting’s advanced diagnostic software and Kvaser hardware power automotive endurance testing operations at Audi's test facility in Neckarsulm. Read More
Read MoreCAN Datalogging Webinar with Accurate Technologies
Accurate Technologies (ATI) and Kvaser are holding a joint webinar on December 2nd (9:30AM Beijing time) to explain how to… Read More
Read More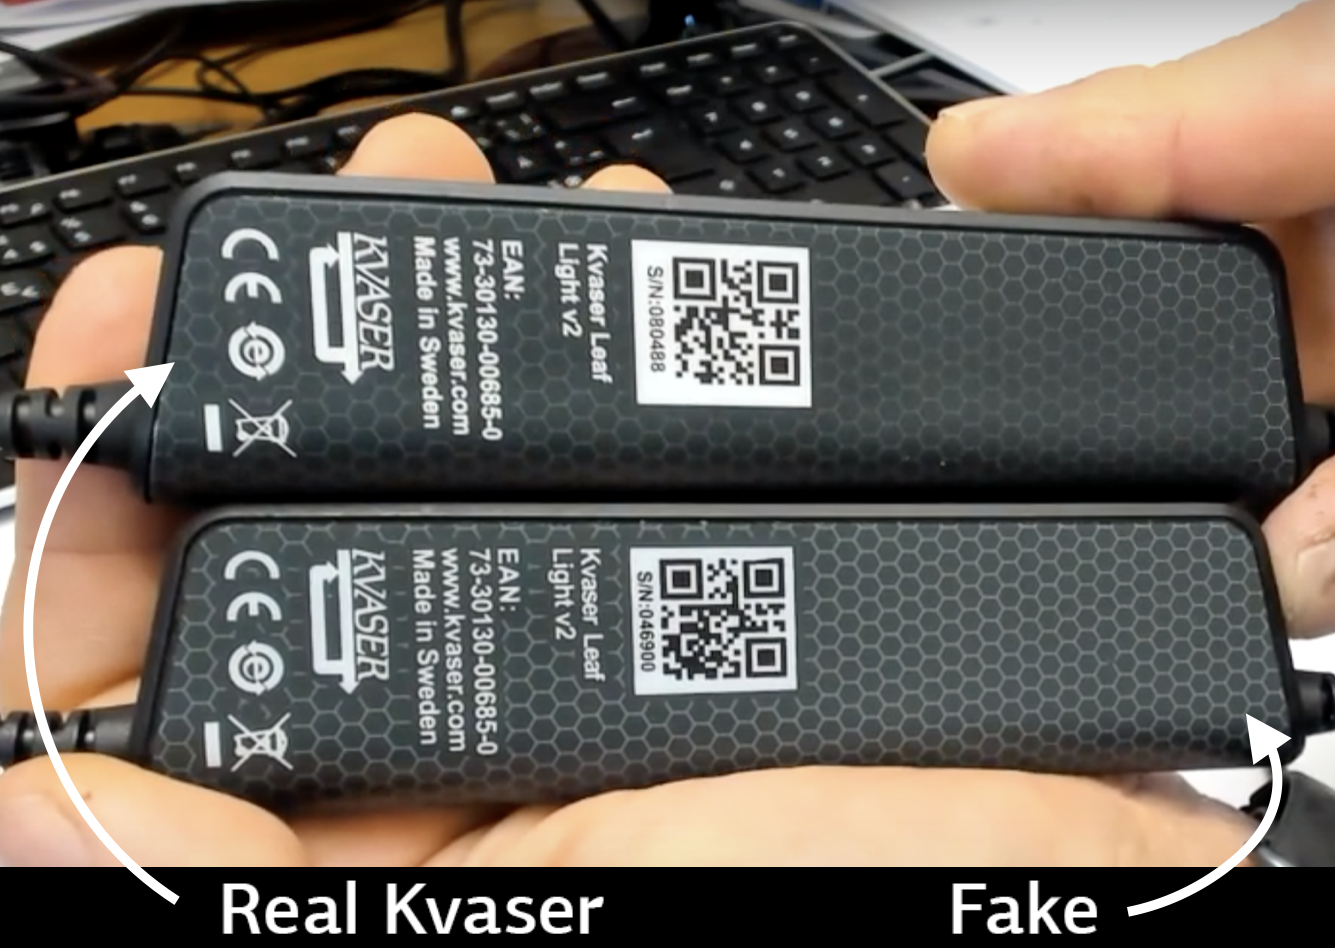
Warning: Counterfeit Leaf’s in circulation
To ensure that you receive the high performance, reliability and longevity that you would expect from a Kvaser product, we… Read More
Read More linkedin
 twitter
 youtube
 youku
youku weixin